This brief tutorial demonstrates how to establish SSH connections to an EC2 instance using MobaXterm, particularly useful for troubleshooting purposes.
Pre-requisite
For this project, you need:
- an AWS account. Set up a Free-Tier account www.aws.amazon.com/free
- the private key file (.pem or .ppk) associated with the instance.
Project Outline
Establish SSH connection to an EC2 instance from a Windows laptop using Mobaxterm tool.
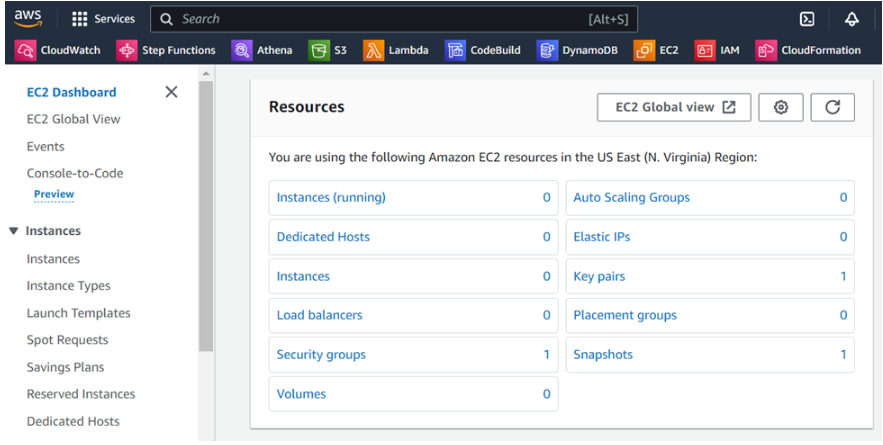
Step 1: Log in to EC2 dashboard
- On the left-hand side of your EC2 dashboard, click on Instances.
- In the new interface, click on Launch instances.

- Fill out the form by adding the name of your EC2. I called mine docker-ubuntu.
Step 2: Create a keypair
- In the form, you have 2 options: use an existing keypair or create a new keypair. Click on Create new keypair.

Cheat Sheat: When creating a new key pair, select an easily memorable name. Choose a RSA key pair type and opt for the .pem key file format.
- Your key pair will download onto your local computer automatically. Be aware of where it saves the .pem file.
Step 3: Assign Security Groups and Ports
- (Still in the same form) create a security group or select an existing one.
- In the networking setting, ensure that Auto-assign Public IP is enable. Verify if the security group is open for SSH traffic, and port 22 is visible.
[Become good at AWS: Join my newsletter. Click Subscribe below]
Step 4: Verify the SSH connection
- Navigate back to EC2 dashboard.
- Click on “Instances” tab located on the left-hand side.
- Locate your instance within the list, and then click on the “Instance ID”.
- Go to properties and copy the public IP address.
- Remember when creating keypair in step 2 you downloaded a pem file automatically. Locate it in your downloads folder.
- Use this link to download and install MobaXterm: Home Edition Free version. Extract the zip file and install the software.
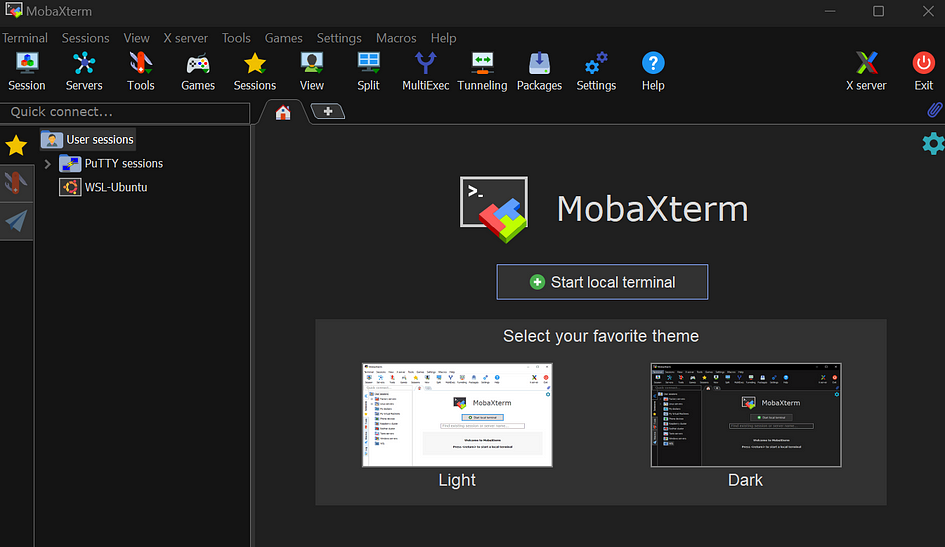
- In MobaXterm, click on the menu Session. Then select SSH.
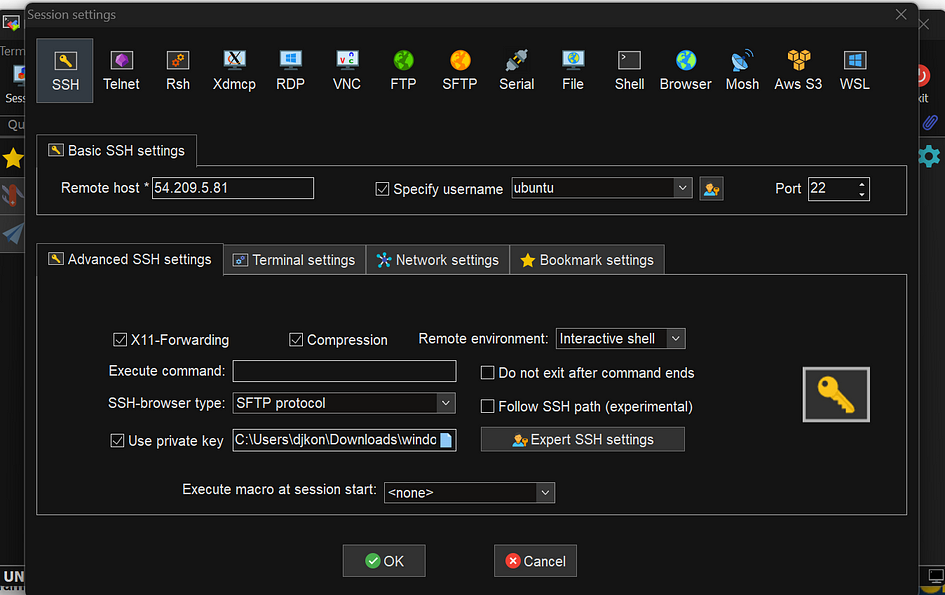
- Paste the IP address in the Remote host field. Check Specify username and write Ubuntu.
- Click on Advanced SSH settings. Select Use private key, and select the private key you have downloaded from AWS account.
- Click OK at the bottom of the window. Click accept.
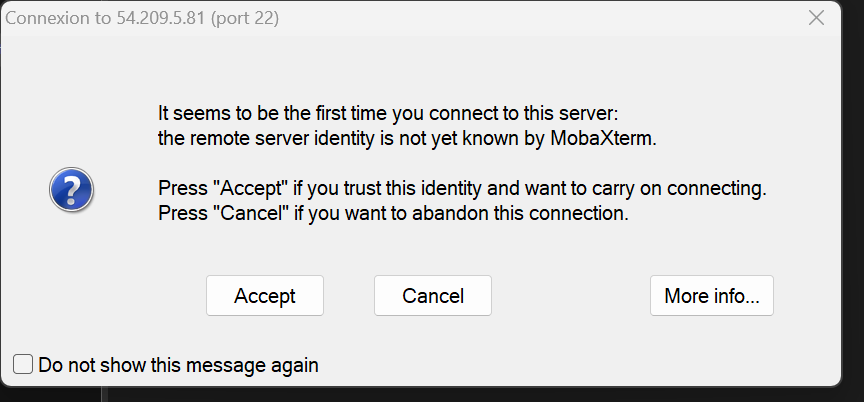
- You’ve SSH connected to your EC2 instance.
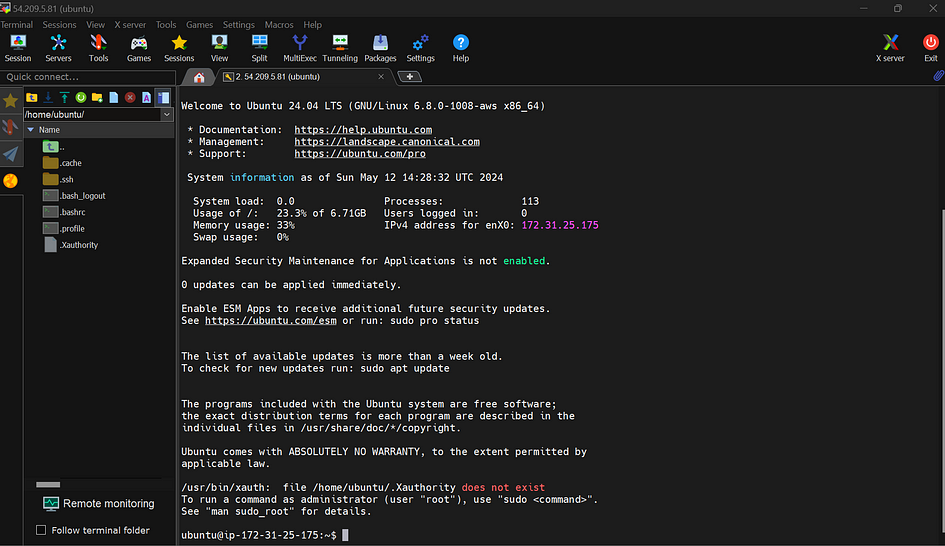
Step 5: Verify if you’re connected
- Execute some commands CLI to verify if you’ve established connection with EC2. Try sudo apt update.
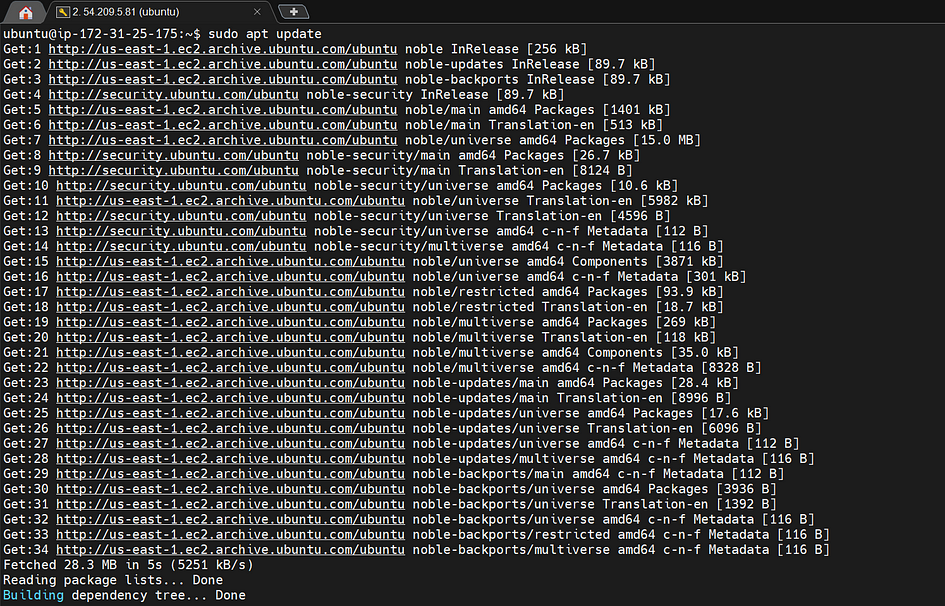
Voilà! You’ve deployed an EC2 instance and connected to it with SSH.


Leave a Reply